This post will provide a step-by-step walkthrough of how to sign up with Bluehost.

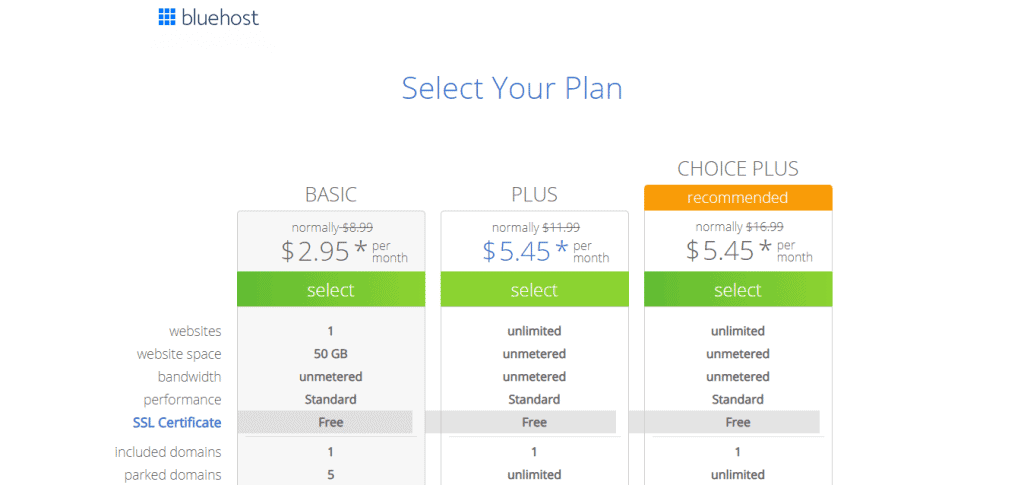
To sign up, click the Get Started Now button. If you only plan to build one website, choose the Basic plan; otherwise, select the Choice Plus plan. You can also switch from Basic to Plus or Choice Plus if you decide to build more websites.

After selecting a plan, you will be taken to a new page where you will have to enter your personal information to process the payment.
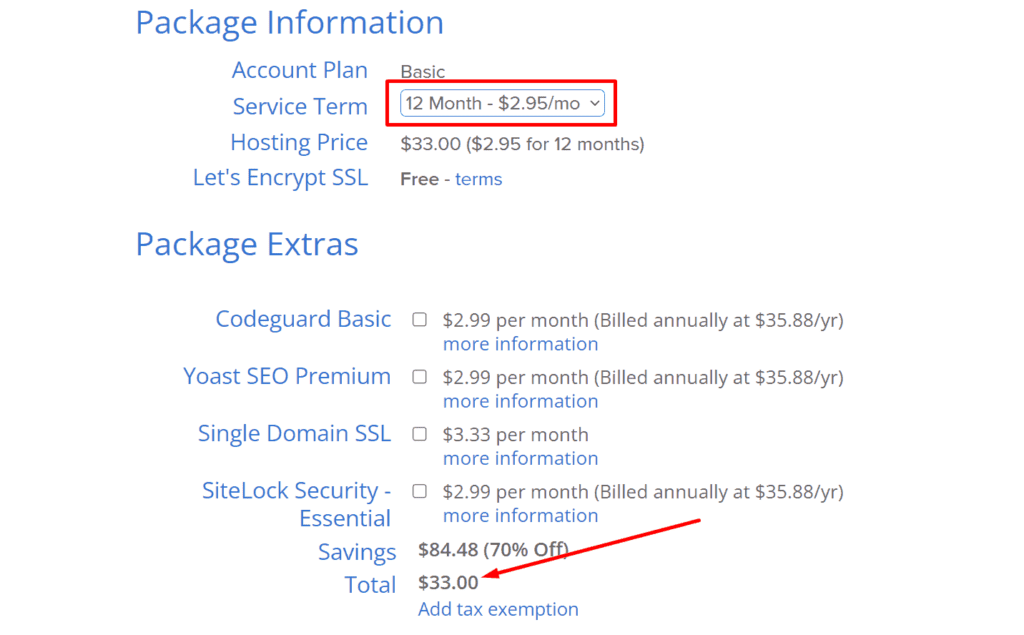
Bluehost tends to add some package extras that, in most cases, aren’t necessary in order to increase the initial price of website hosting.

Below is a list of Bluehost package extras and the WordPress plugins that can replace them.
- Codeguard Basic: This add-on helps you backup and monitor your website. WordPress plugins like Jetpack or UpdraftPlus can be used instead of this addon, so you can uncheck it.
- Bluehost SEO Tools Start: This add-on helps you rank your website on search engines, but it isn’t worth the price due to its basic features. We recommend you uncheck this addon and install the Rank Math SEO plugin instead.
- Single Domain SSL: Aside from maintaining the privacy of your website users, an SSL certificate can also help you improve your website’s search engine ranking. We recommend that you select this addon.
- SiteLock Security – Essential: This add-on protects your website from malicious attacks and malware. A free WordPress plugin called Wordfence is recommended instead.
Once you have selected the necessary package extras, you will need to enter your payment information to complete the purchase.
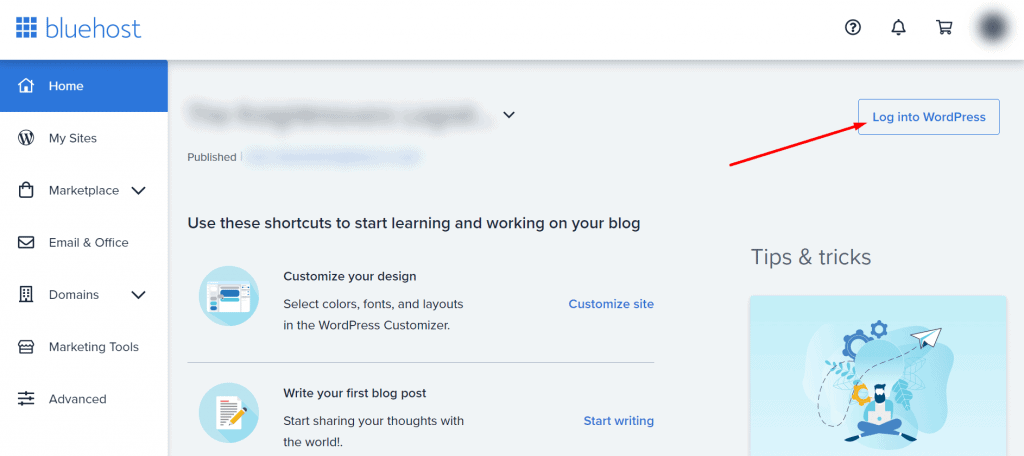
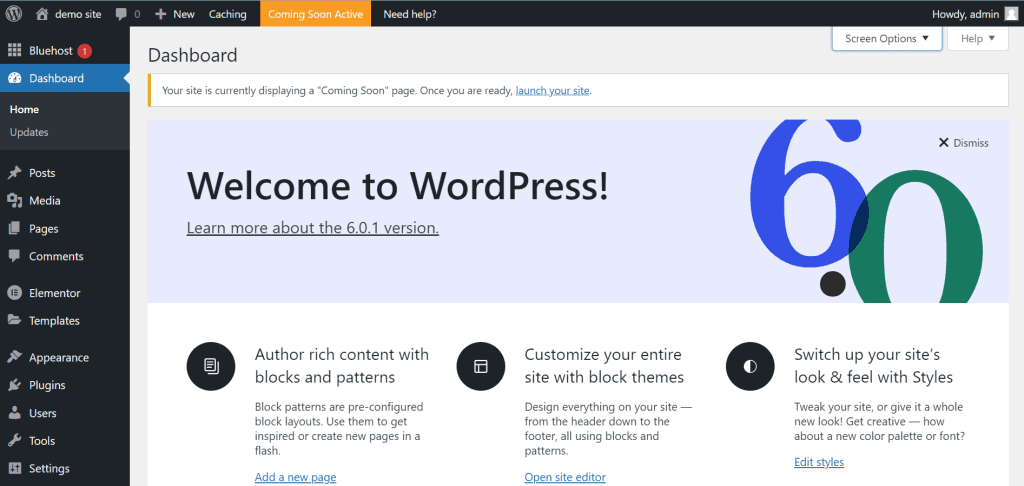
After a successful payment, you will be taken to your new Bluehost account dashboard, where WordPress is already installed.


Thank you for reading this post to the end. If you have any questions, please leave them in the comments section below, and I will respond as soon as possible. If you found this post useful, please share it!

