Adding a logo to your website makes it look more appealing and professional. Aside from that, it represents your brand and establishes trust with prospective customers.
The steps below explain how to add a logo to your website:
1. Design the Logo
Creating a logo isn’t easy, especially if you don’t have any graphic design skills, but with free tools like Logomakr, Free Logo Design, or Canva, anyone can create a logo in minutes without the need to hire a logo designer.
To design your logo, simply sign up for any of the above logo design tools, then design your logo and download it.
Want a more professional logo for your website? Click here to find the best logo designer.
2. Add the Logo to Your Website
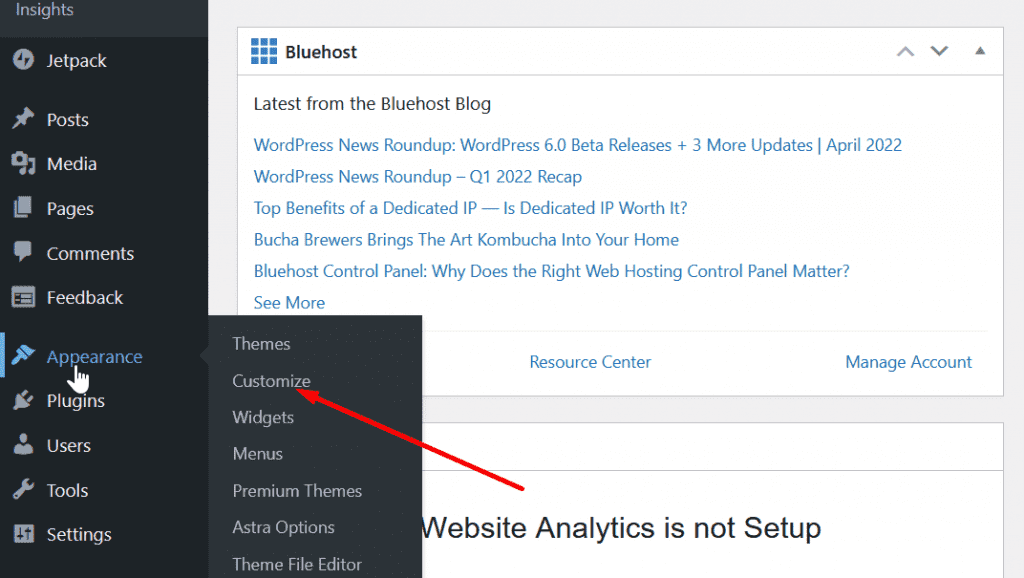
Once you have downloaded your newly designed logo, you will need to add it to your website. The easiest way to do this is to go to your website admin dashboard, click on Appearance on the left sidebar menu, and then click on Customize.
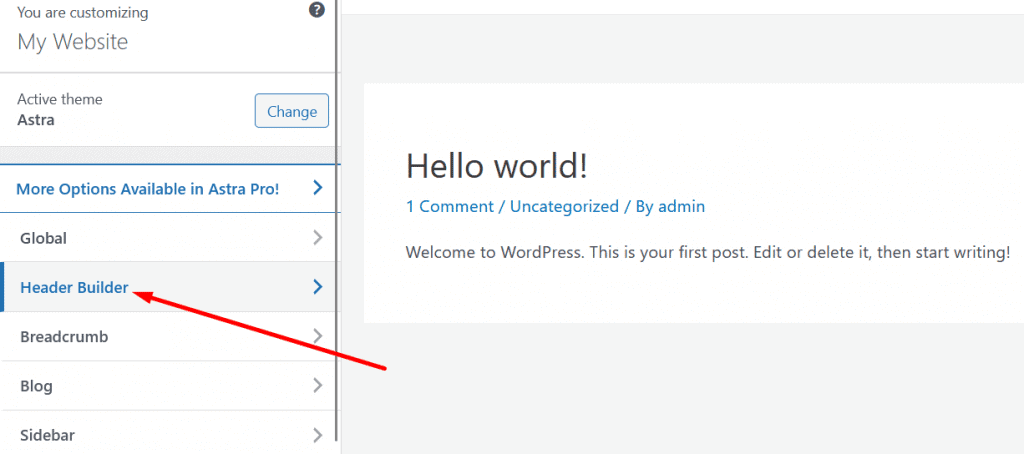
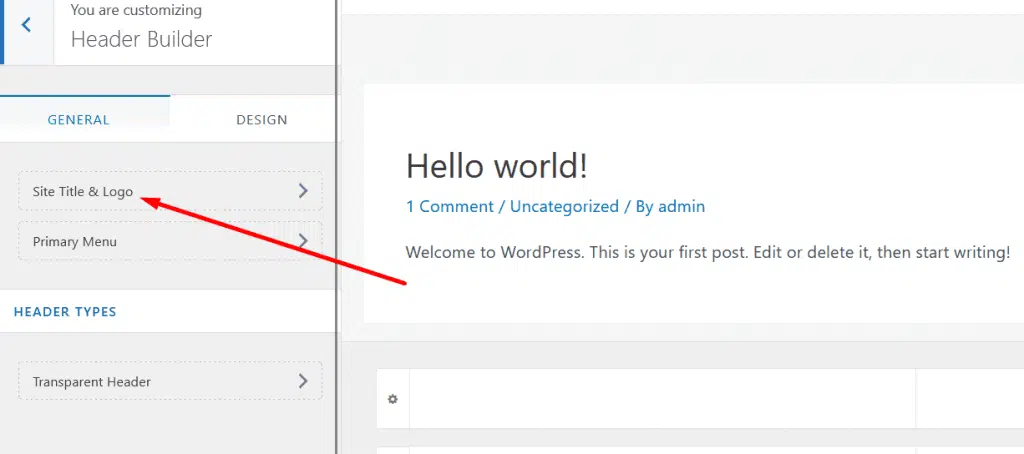
Using the customize page, you can customize how your website looks and add a logo to your website. To do this, navigate to the left sidebar of the customize page and click on Header Builder, then click on Site Title & Logo to add the logo to your website.
Select the newly designed logo from your computer and upload it to your website. Also, you can increase or decrease the width of the logo, as well as add a site icon to your website on this page.
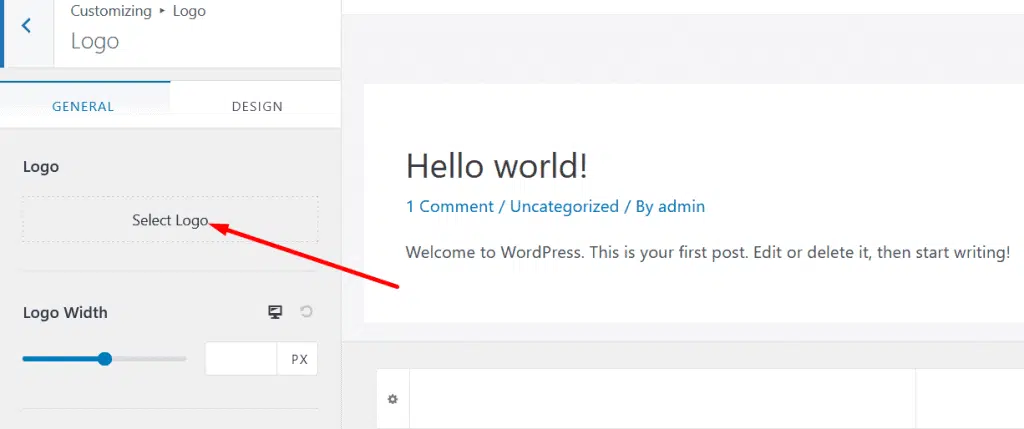
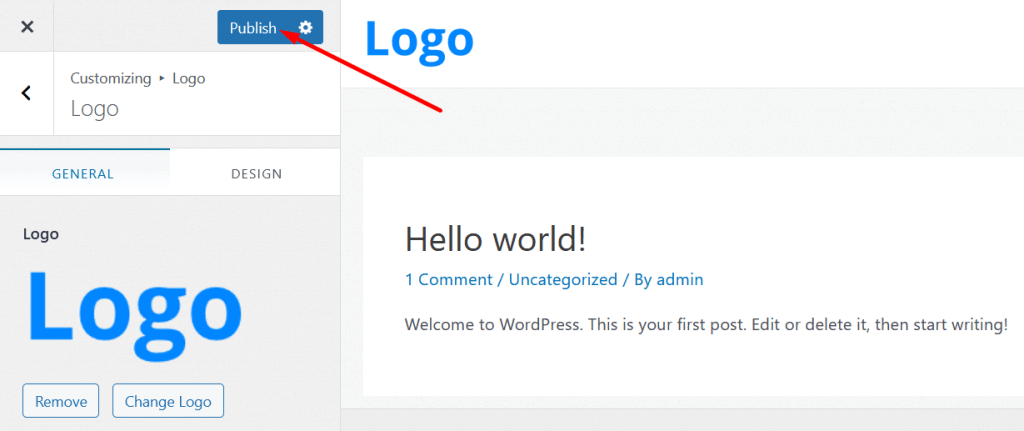
Once you have completed the steps above, you can now save and publish the new logo on your website.
Please note that the method outlined above will vary depending on the WordPress theme you’re using on your website.
Thank you for reading this post to the end. If you have any questions, please leave them in the comments section below, and I will respond as soon as possible. If you found this post useful, please share it!


