Want to create a professional and well-optimized veterinary website? There’s no better post for you than this one!
By having a website for your veterinary practice, prospective clients can contact you or book an appointment more easily.
The purpose of this post is to provide steps on how to make a veterinary website from scratch as a complete beginner without any technical skills or expertise.
Follow these steps to get your veterinary website up and running in under 15 minutes:
⌚Are You Short on Time? Click Here to Create Your Website Right Away!
Don’t hesitate to contact me if you get stuck on any step in this guide, and I will assist you for Free!😉
1. Choose a Domain Name
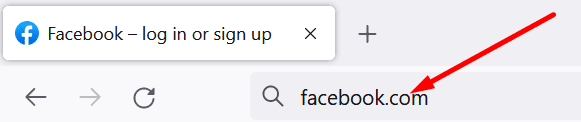
A domain name is a website address on the internet. It is the text that people type into their browser’s search bar to reach your website. (For example, Facebook.com, Google.com, or Amazon.co.uk).
Here are a few things to keep in mind when choosing a domain name for your website:
- Keep it short: It is recommended that you keep your domain name short to make it easier to remember
- Ensure your domain name contains keywords: Aside from making your website easier to understand, using keywords in your domain name can help your website rank higher in Google search results. For example, include the keyword “veterinary” in your domain name.
- Make it easy to pronounce: It is important to choose a domain name that is simple to pronounce and spell, this will help your website visitors remember it.
If you are having trouble coming up with a domain name for your website, click here to use a free domain name generator tool.
2. Sign Up With a Web Hosting Provider
Website hosting is a service that allows you to store and publish your website on the internet.
There are many website hosting services available online, however, Bluehost is the best and most recommended web hosting provider due to its reliability, speed, and responsive customer service.
Bluehost also automatically installs WordPress, which is the most popular website builder, on your web server. With WordPress, you can easily make your veterinary website without having to learn how to write code.
When you sign up using the button below, Bluehost will give you a Free domain name and a 70% discount Off the normal price.

Begin the Bluehost signup process by clicking the Get Started Now button.
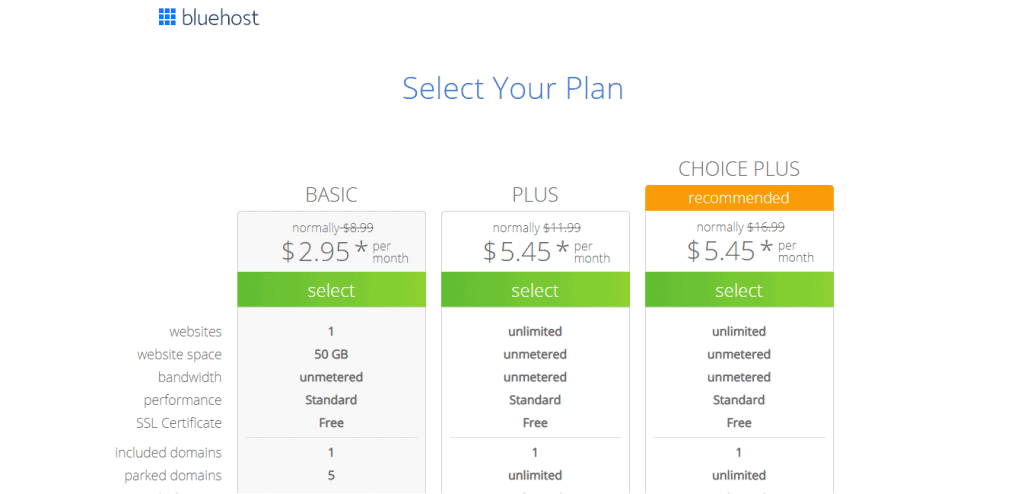
Since you will be creating just one website, go for the Basic plan and upgrade later if you need to build another website. All plans include a Free Domain Name.
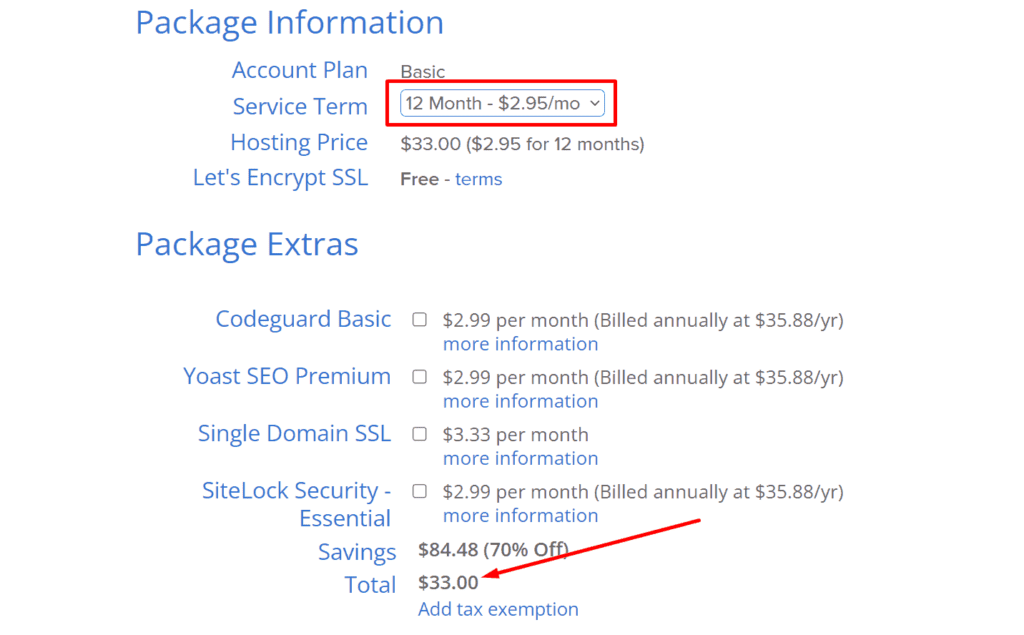
Following your selection of a plan, you will be taken to a new page where you will be required to enter your personal details and make a payment.
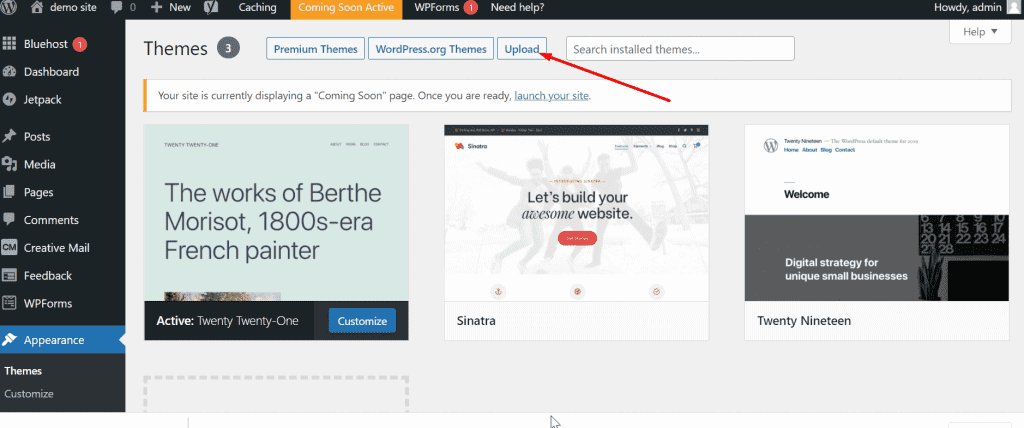
3. Install a WordPress Theme
A theme allows you to customize and enhance the design of your website, WordPress offers numerous free and premium themes.
In this post, I’ll be creating a veterinary website using the Astra WordPress theme due to its flexibility.
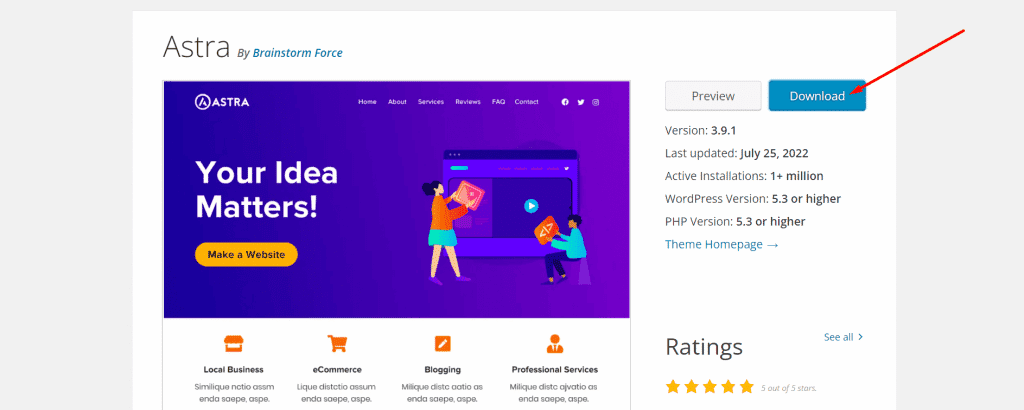
Click on the Download button to begin the download,
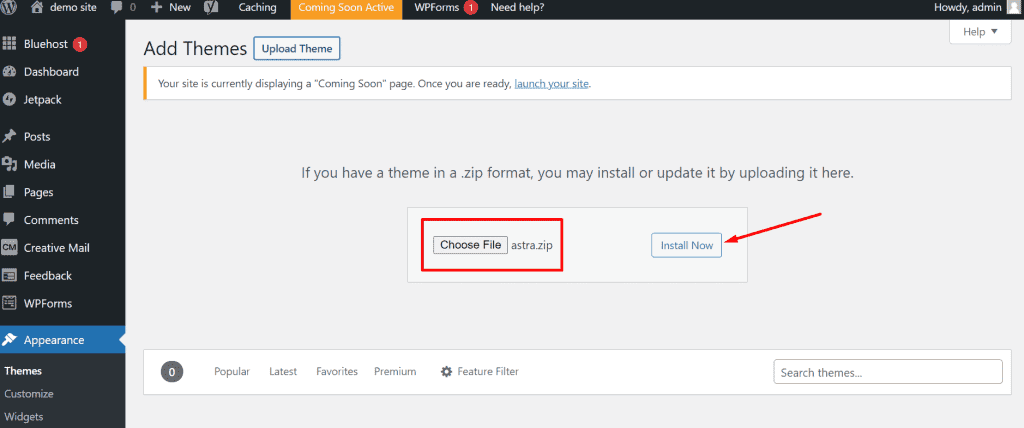
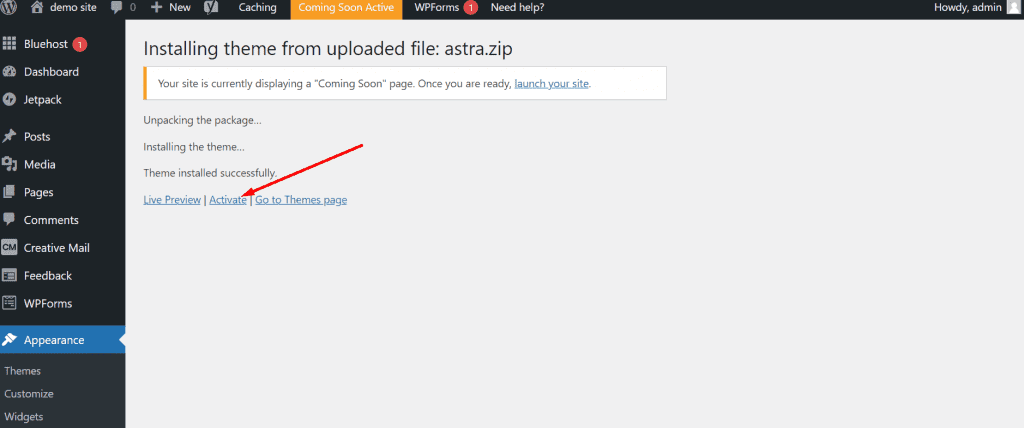
Once you have downloaded the theme, you will need to upload it to your website and then install and activate it.
To upload the theme on your website, choose the downloaded theme from your computer and click the Upload button.
Click on the Activate button after the theme is installed to make the theme visible on your website.
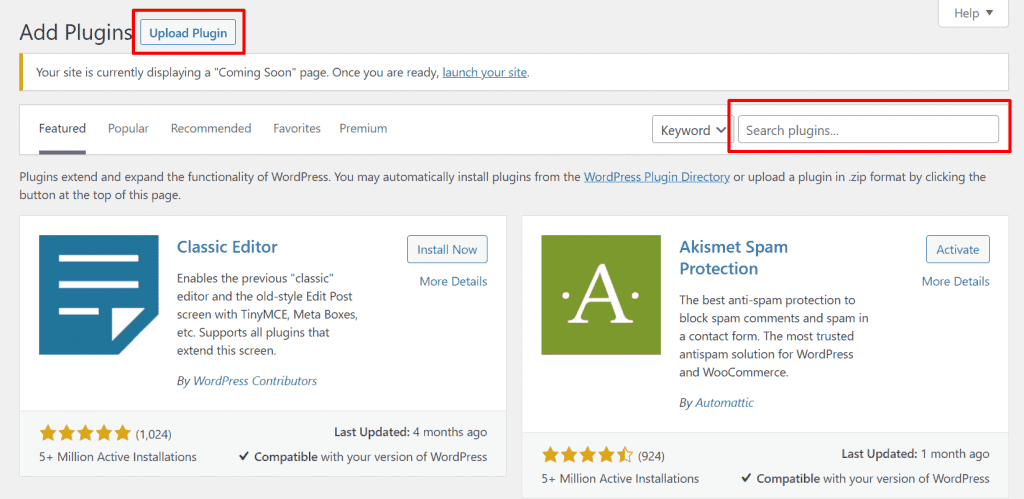
4. Install WordPress Plugins
A plugin is a piece of software that adds more functionality to your WordPress website. WordPress offers a wide variety of free and premium plugins.
To enhance your Veterinary website functionality, install the following plugins:
- Elementor: Elementor is the best WordPress website builder. With its easy drag-and-drop feature, you can create stunning designs for your website.
- Smush: Having large images and file sizes slow down your website’s speed. With the Smush plugin, you can compress all your website images within a few minutes without affecting their quality.
- Wordfence: Over 30,000 websites get hacked every day. Wordfence protects your website from vulnerabilities and malware.
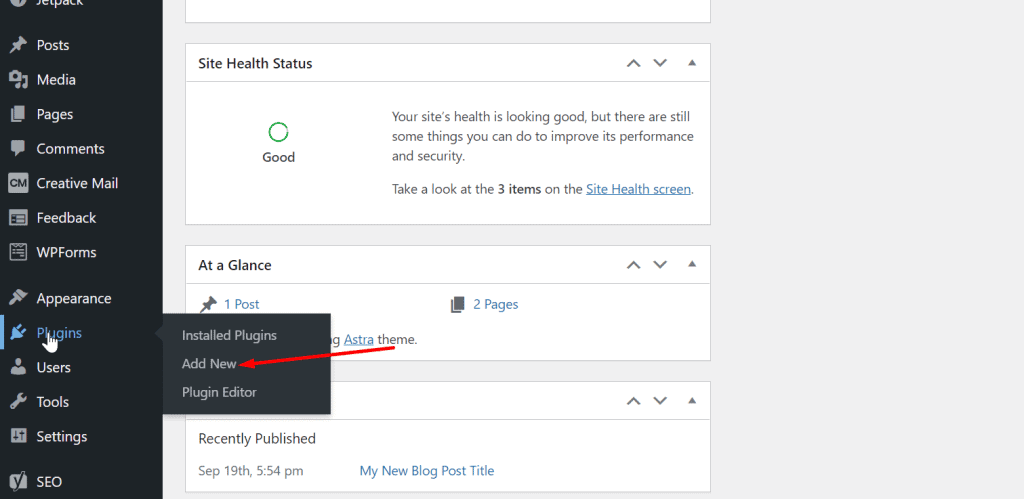
To install a WordPress plugin, navigate to the left-sidebar menu and click Plugins then Add new. You will then be taken to the WordPress plugin directory where you can upload and install any WordPress plugin.
5. Create Essential Pages
Pages make your website easy to understand for users, there is no limit to the number of pages you can add to your website, but some pages are just important enough not to be skipped.
Here are some essential pages for veterinary websites:
Homepage
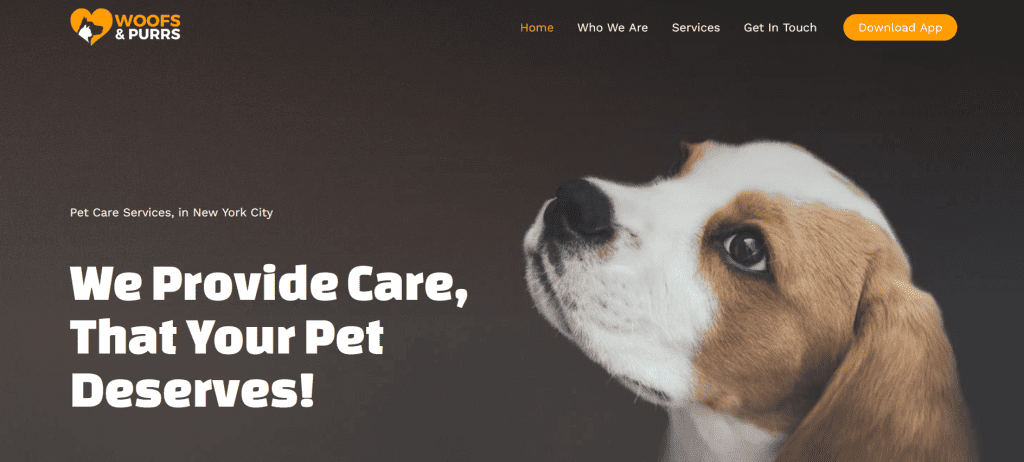
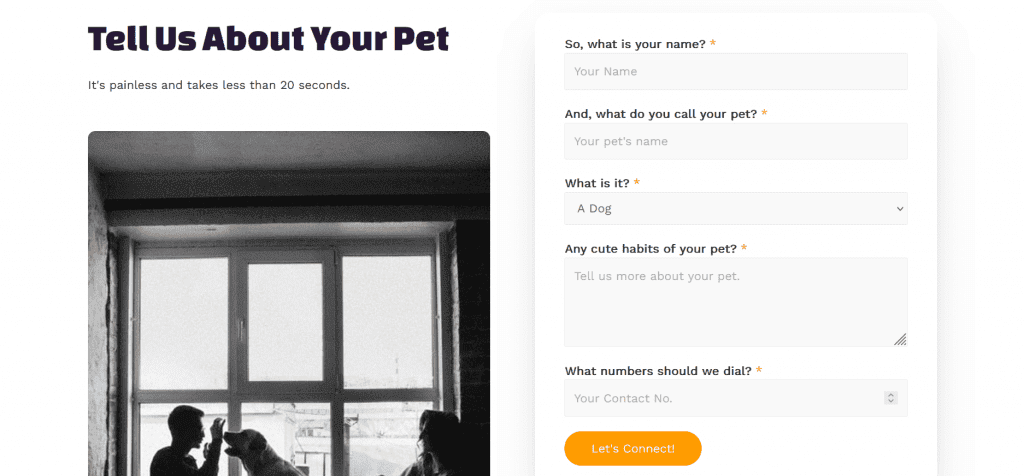
The Homepage of your website should include a short description of your business, as well as relevant images and video, making it easier for website visitors to understand your business.
It should also include relevant elements like an image slider, testimonial carousel, and links to other pages.
About Page
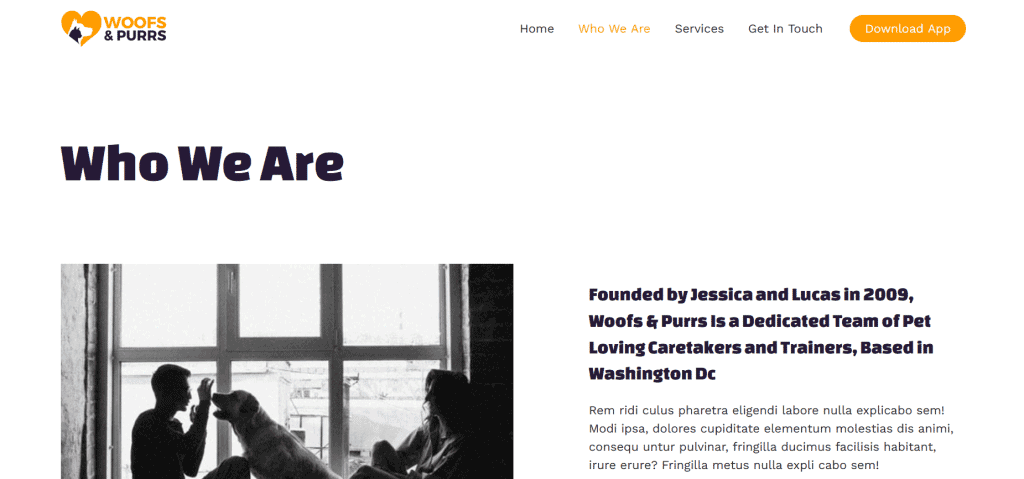
The About page should provide detailed information about your business, as well as your qualifications, experience, and skills.
It is also recommended that this page should also include a video and relevant images to help visitors understand your business.
Service Page
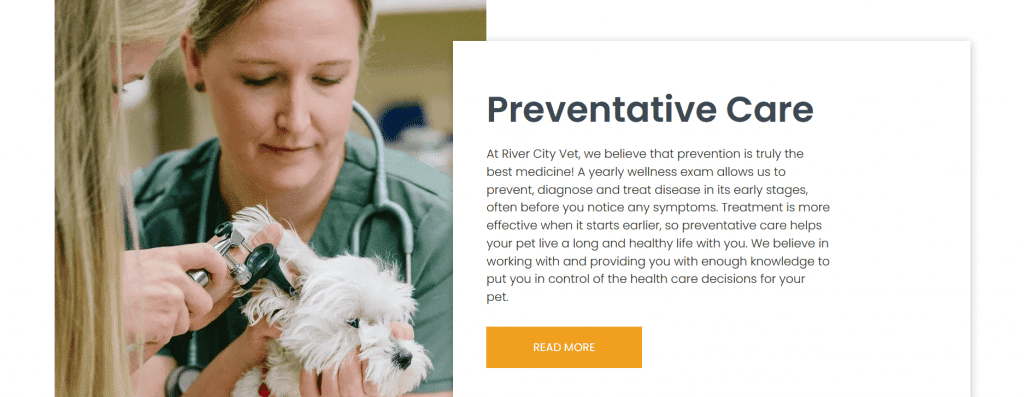
The Service page should contain a list of the services your veterinary practice provides, you can also include images and a brief explanation of each service to help clients better understand it.
Contact Page
By including a Contact page on your website, prospective clients can easily get in touch.
Your contact page should include the following:
- A Contact form: you can easily create a contact form with the Contact Form 7 Plugin.
- Your Business Address
- Your Email address and telephone number
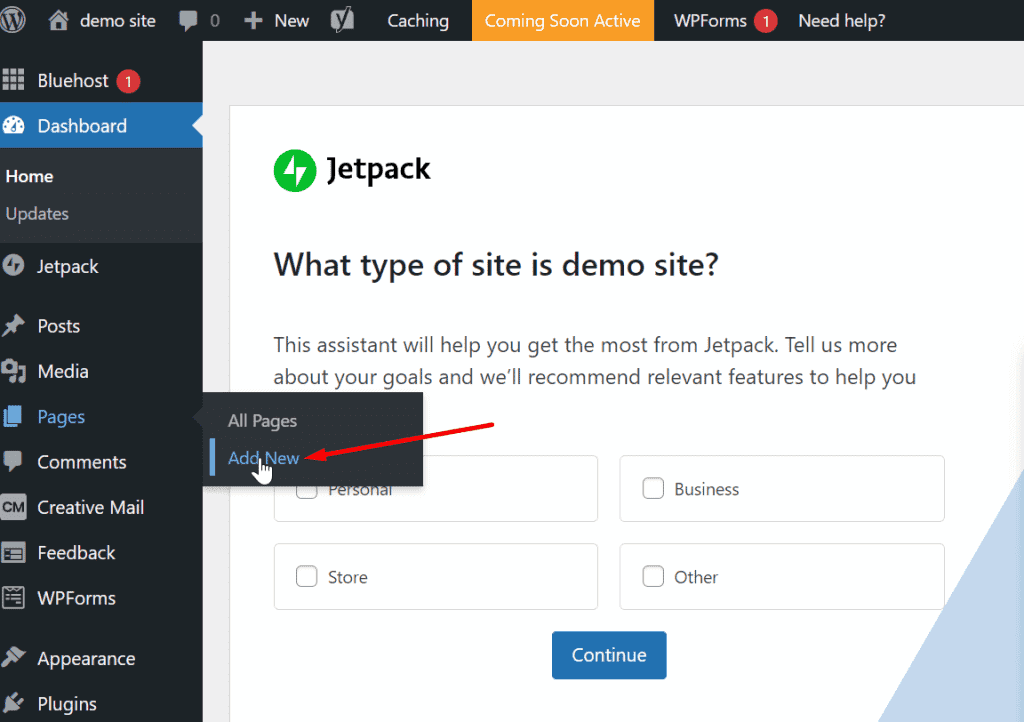
To create a page on your website, Navigate to the left sidebar menu of your website dashboard, click on Pages, then click Add New.
You will be taken to a page where you can add a title to your new page, add contents, images, and other features, then hit the publish button to save and publish it on your website.

To make your web page look more appealing and professional, I suggest you use the Elementor website builder plugin to design your webpage, Click here to download the Elementor plugin.
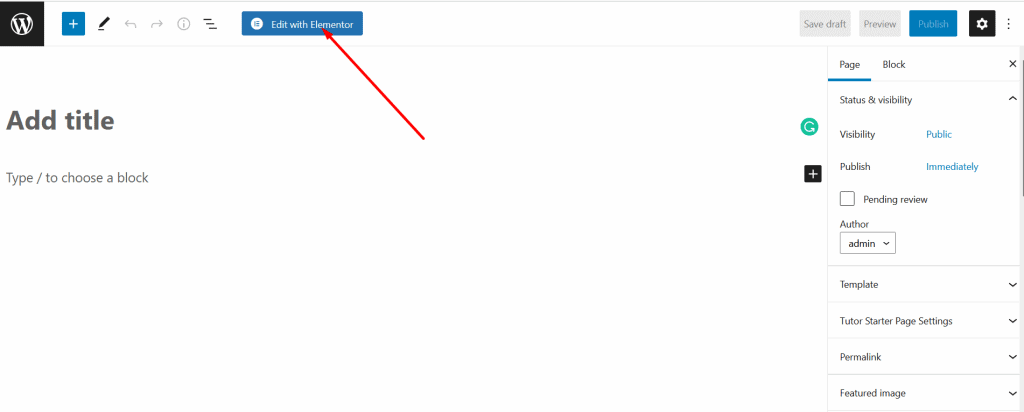
Instead of following the steps above, you can create your page by simply dragging and dropping elements when you click on the Edit with Elementor button. Here’s a video showing how it’s done, click here to see the video.
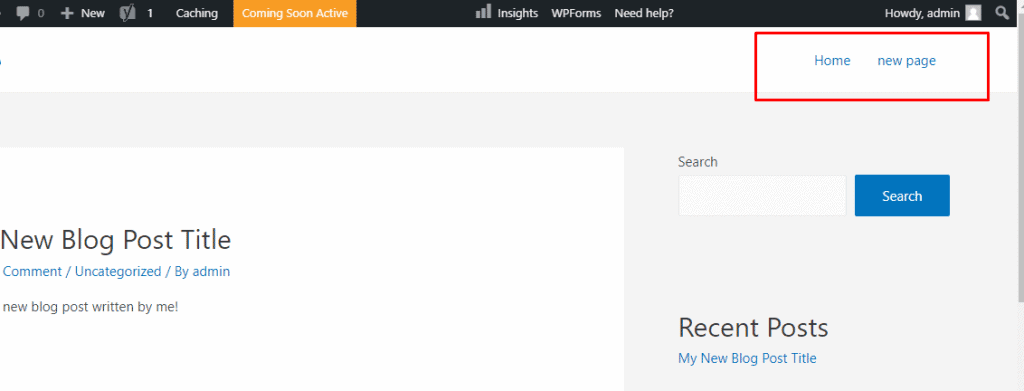
6. Create a Navigation Menu
A navigation menu makes it easy for website users to access web pages. It usually appears at the top of the website and contains links to relevant pages.
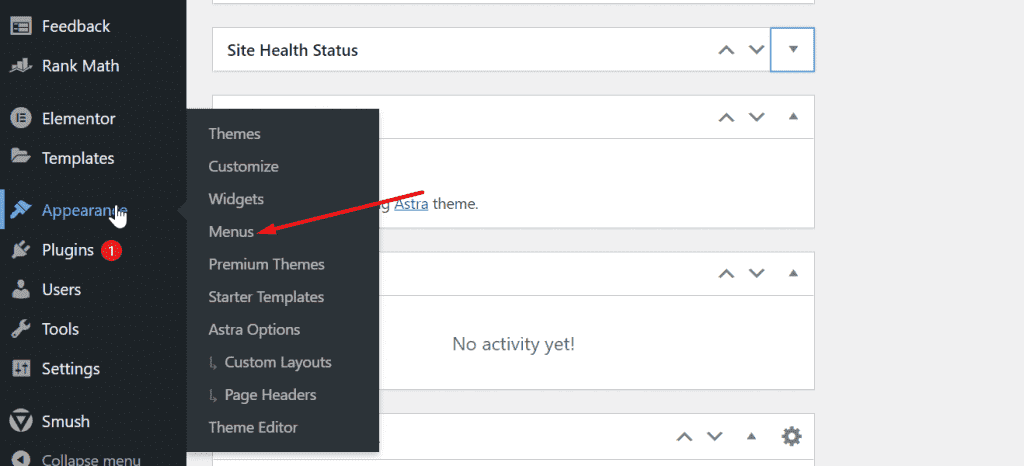
To create a menu on your website, click Appearance on the left sidebar, and then select Menus. You will then be taken to the menu page where you can create your website’s navigation menu.
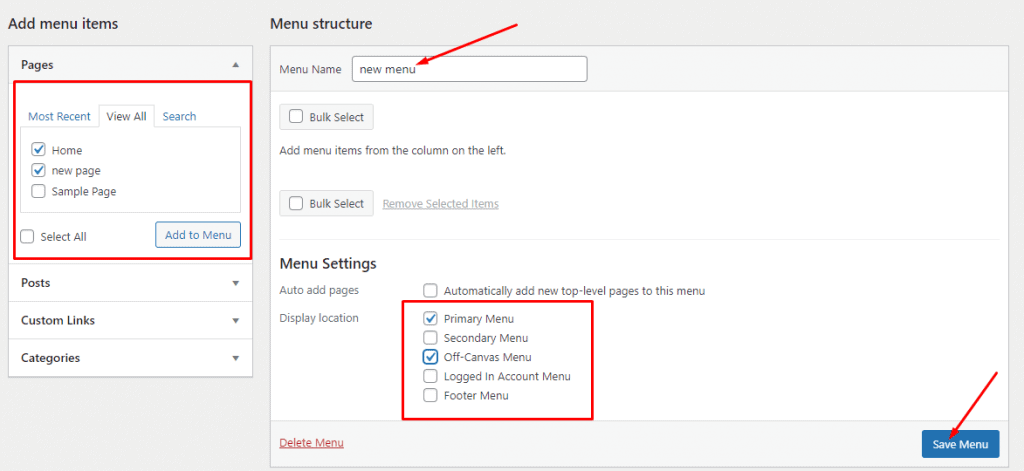
The navigation menu will appear at the top of your website after it has been saved.
Read Also: How to Add a Logo to Your Website
7. Customise Your Website Design
Adding more features to your website makes it look more appealing and professional. Although this process is a bit technical, so we recommend watching this video. Click here to see the video.
8. Publish Your Website
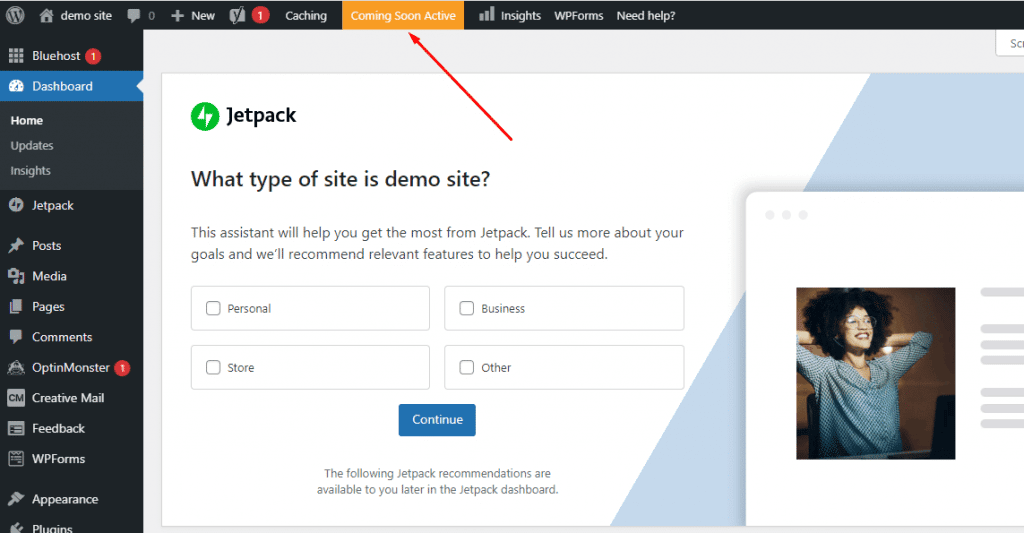
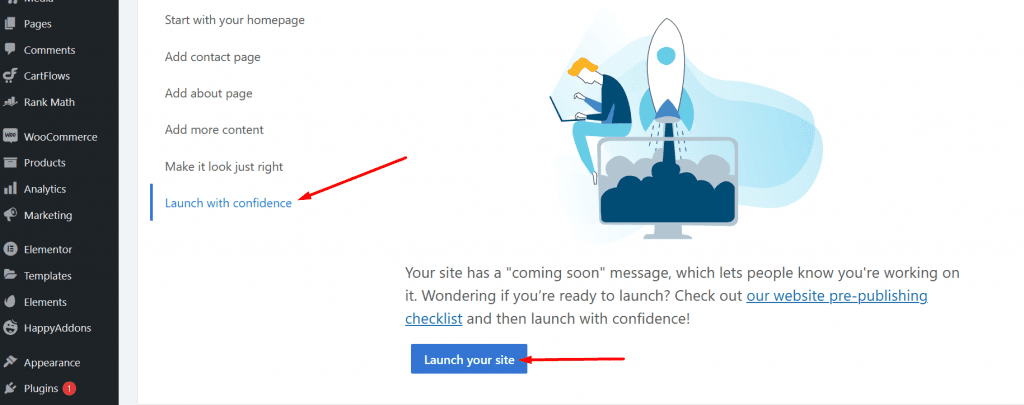
Bluehost places your website in “coming soon” mode after you complete the signup process, you need to deactivate this mode to make your website available online.
To disable this mode, click the Coming Soon Active link at the top of your website dashboard then click the Launch your site button on the next page to get your website published online.
9. Get Your Website Indexed by Search Engines
Having your website indexed on search engines makes it easier for prospective customers to find your website and contact you.
More than 63,000 searches are performed on Google every second, so indexing your website on the Google search engine and getting your web pages ranked for specific keywords would be beneficial to your business.
The process of having your web pages indexed and ranked for relevant keywords in search engines is known as Search Engine Optimization (SEO).
By using the Rank Math WordPress SEO plugin, you can easily get your web pages indexed on Google. Click here to download Rank Math
Here are some helpful search engine optimization tips for veterinary websites:
- Submit your website to Google Search Console: Search Console is a tool developed by Google to scan websites and index them on search result pages. Submitting your website to the Google search console helps Google crawl your website and index your web pages.
- Install an SSL certificate on your website: As one of Google’s ranking factors for websites, an SSL certificate can help your website get indexed on the search engine results pages and also protect your website’s user data.
- Add Google Analytics tracking on your website: Google Analytics helps you monitor your website traffic and provides detailed information about your website visitors.
Tip #1: Set up a Google My Business listing for your business
Google My Business is a Free listing directory that helps businesses get found by prospective clients or customers.
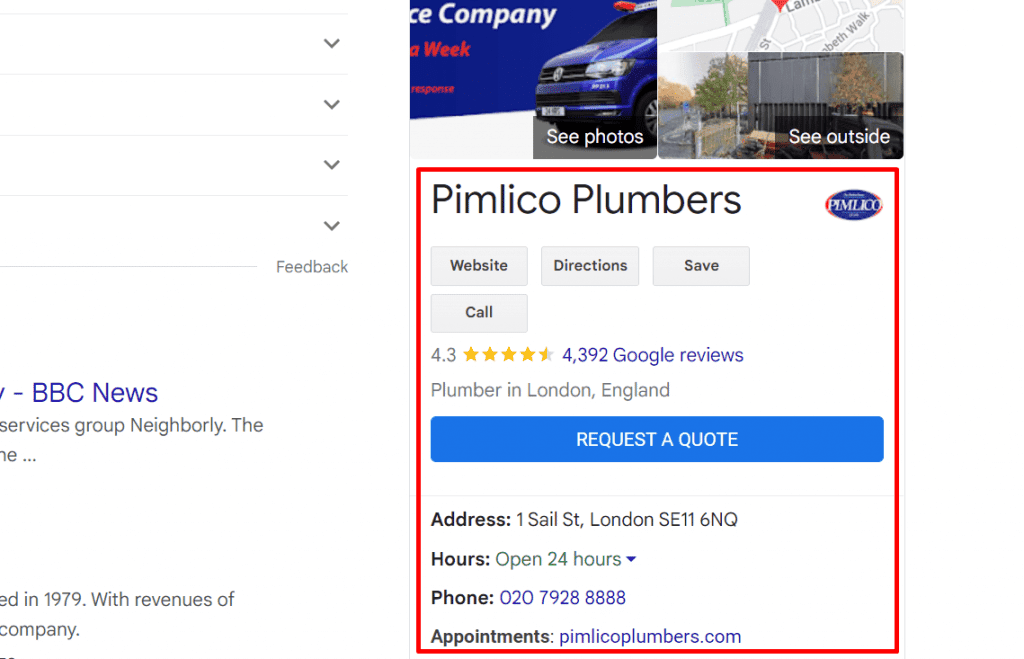
Having a Google My Business listing can boost customer loyalty and help your business appear on Google Maps.
Customers can also schedule an appointment or request a quote and leave feedback on your Google My Business listing. For more information on how to set up a Google My Business listing, click here.
You can also create Yelp, Yellow Pages, and social media accounts for your business to help increase its online visibility.
Thank you for reading this post to the end. If you have any questions, please leave them in the comments section below, and I will respond as soon as possible. If you found this post useful, please share it!