Are you considering building a website for your new or existing business? If so, consider reading this post all the way to the end to learn how to make a well-optimized small business website.
Having a website for your small business gives you more credibility, enhances your sales, and makes it easier for prospective customers to contact you.
This post will provide a step-by-step guide on how to make a small business website without having to hire an expensive website designer or developer👨💻.
Here are the steps you need to take to set up a website for your business in no time:
⌚Are You Short on Time? Click Here to Create a Website Right Away!
Don’t hesitate to contact me if you get stuck on any step in this guide, and I will assist you for Free!😉
Step 1: Pick a Perfect Domain Name for Your Website
A domain name is your website address on the internet (For Example, Facebook.com, Netflix.com, or Yahoo.com).

Your domain name represents your brand and contributes to your website’s search engine optimization, so it’s best to choose a short and easy-to-remember domain name that has a keyword fitting for your website.
If you’re having trouble coming up with a good domain name, click here to use a free domain name generator tool.
Step 2: Choose the Right Website Building Platform
The WordPress platform remains the most beginner-friendly and easiest to use among all the website building platforms available on the internet. Creating a website on WordPress doesn’t require any expertise or technical knowledge.
WordPress also offers a variety of website templates and plugins to enhance your website design and functionality. A report from W3Techs shows that 43.4% of websites use WordPress, so creating your website with WordPress is a great choice.
Step 3: Sign Up With a Web Hosting Provider
Web hosting is a place where your website files are stored on the internet. Bluehost is one of the best and most recommended web hosting providers due to its speed, stability, and responsive customer support.
Aside from that, Bluehost has WordPress pre-installed on its web hosting server, so you don’t have to worry about installing WordPress manually.
When you sign up using the button below, Bluehost will give you a Free domain name and a 70% discount Off the normal price.

Click on the Get Started Now button to begin Bluehost’s signup process
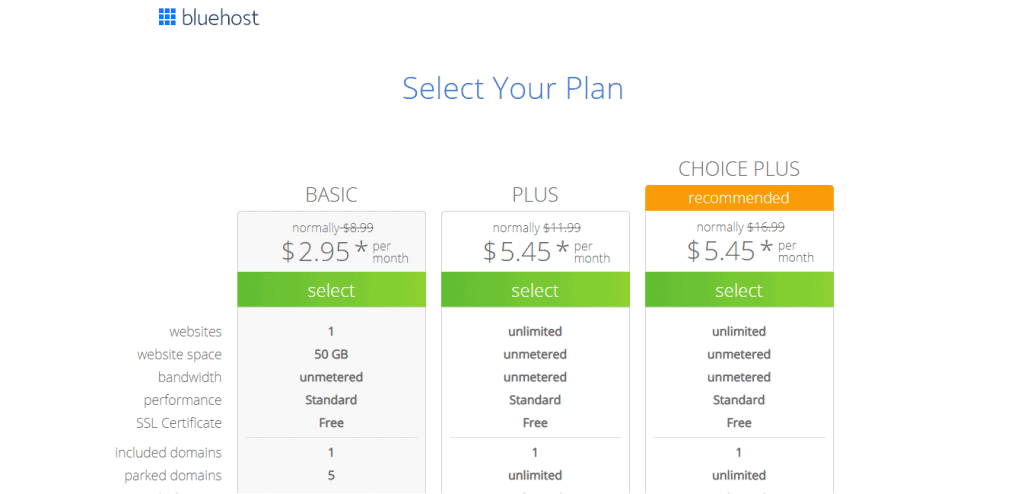
If you plan to build just one website, then you should opt for the Basic plan; otherwise, go for a Plus or Choice Plus plan.
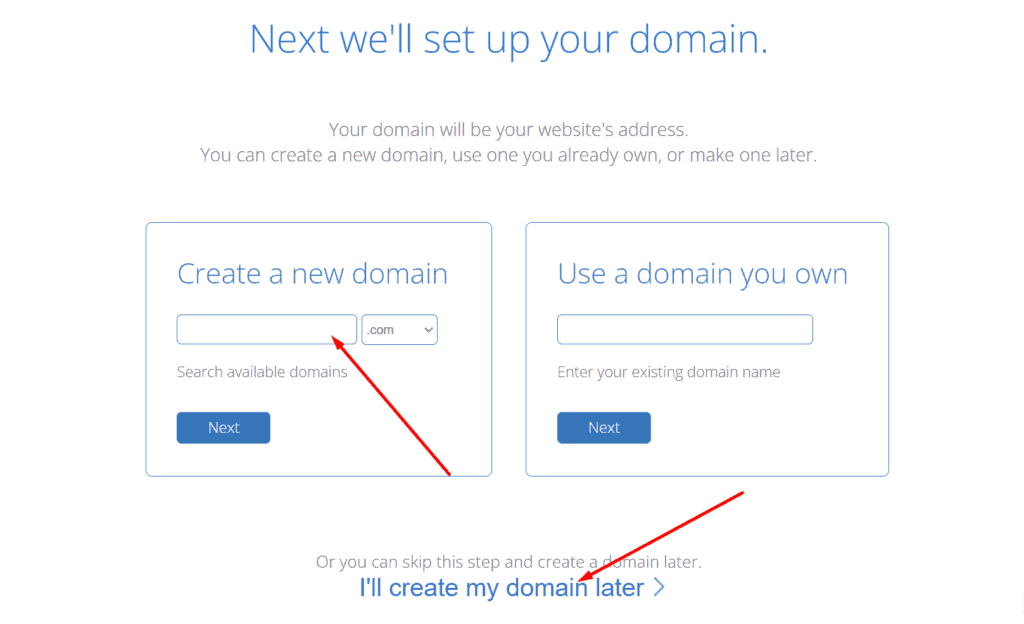
Upon selecting your desired web hosting plan, you will be taken to a page where you can create a new domain name. You can skip this step and create your domain name later.
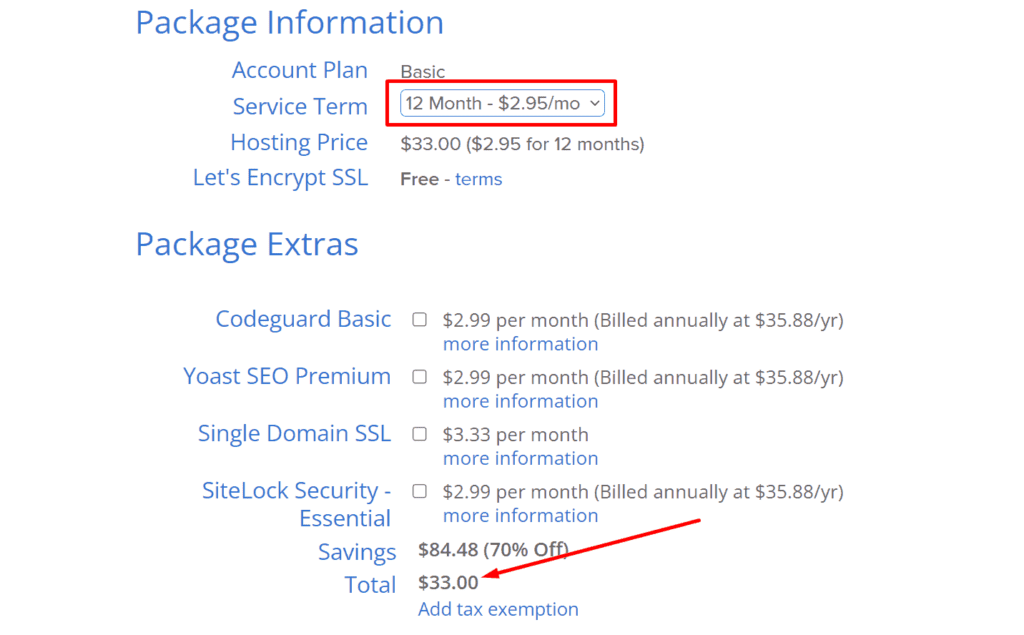
Once you’ve selected your desired web hosting plan and created a domain name, you’ll be taken to a new page where you will enter your payment information to complete the purchase.
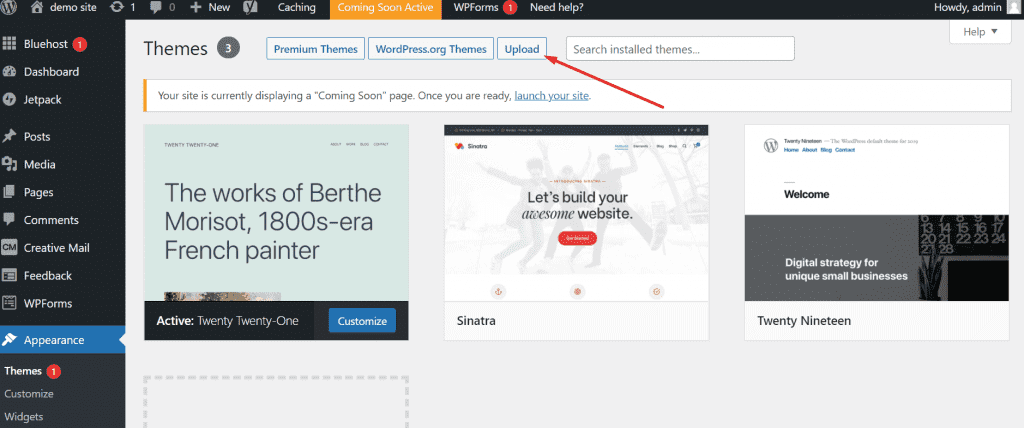
Step 4: Install a WordPress Theme
A theme allows you to customize and design the appearance of your website. WordPress offers a wide variety of themes for building websites.
I recommend that you use the Astra theme to build your website because it’s easy to use and offers a variety of pre-built templates that you can customize to meet your needs.
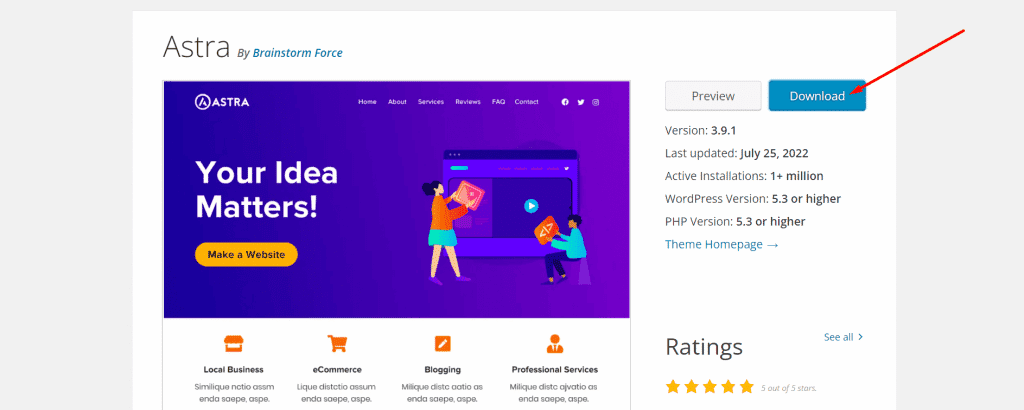
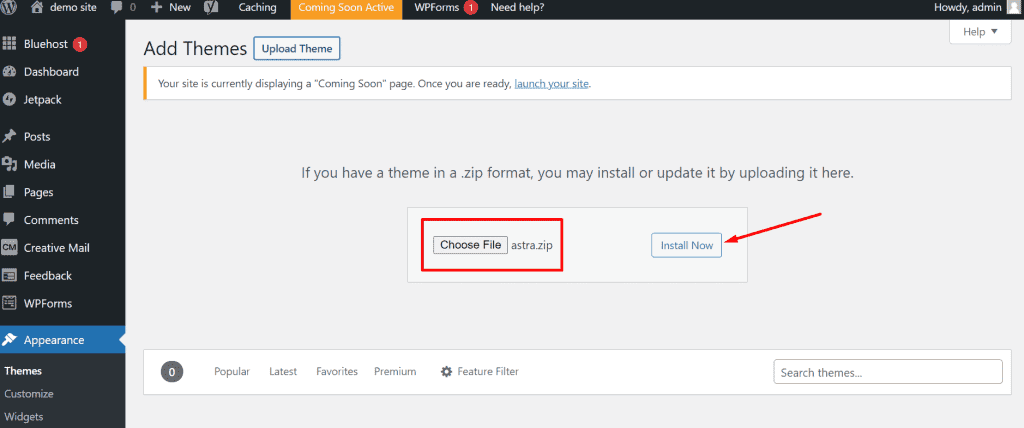
Once you have downloaded the Astra theme, you will need to upload it to your website and activate it. To upload the downloaded file, click the upload button and select the file from your computer.
Click the Install Now button after uploading the theme to your website to install and activate it.
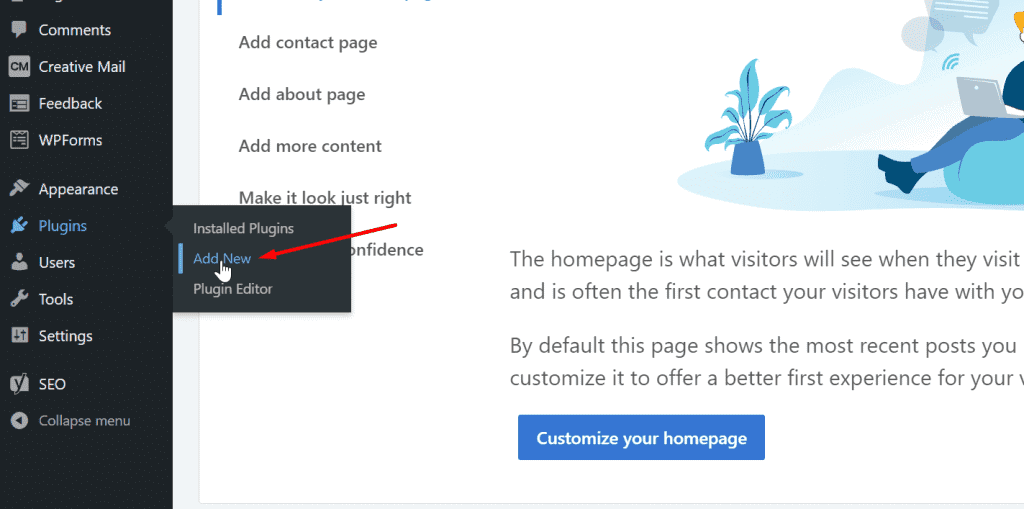
Step 5: Install WordPress Plugins
A plugin allows you to add more features to your website. WordPress offers a variety of plugins that can be used to add any kind of feature or functionality to your website.
To install a plugin on your website, navigate to the left sidebar menu and select Plugins, then click Add New, you will be redirected to the plugin directory page where you can install any WordPress plugin.
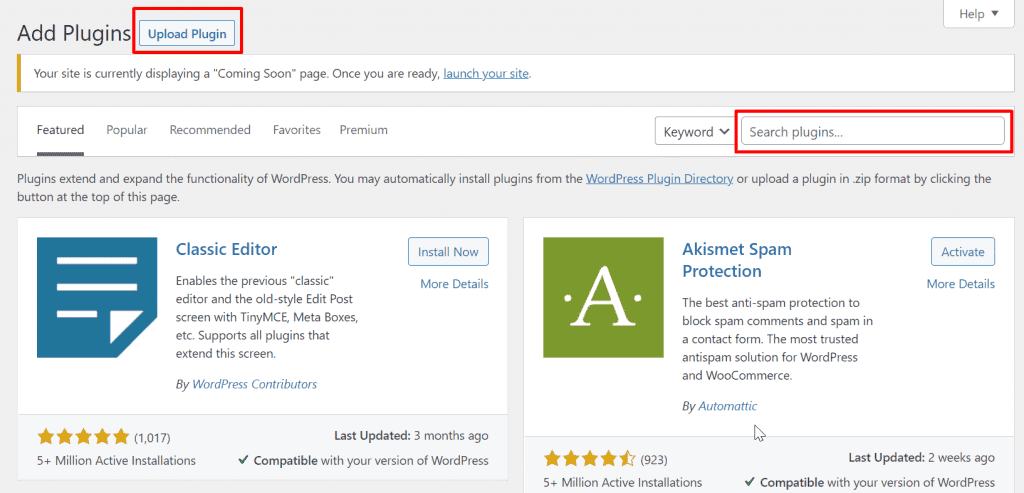
Below is a list of the essential plugins that every small business website needs:
- Elementor: Elementor is an easy-to-use drag and drop WordPress website builder. It offers an extensive range of website templates and widgets that you can customize to meet your requirements.
- Contact Form 7: The Contact form 7 plugin allows you to create a contact form on your website and receive submissions in your mailbox
- Smush: The size of your images can impact the load time of your website. The Smush plugin allows you to compress images without sacrificing their quality
- Booking Calendar: Booking Calendar is an easy-to-use WordPress booking plugin. With it, prospective clients and customers can schedule appointments or make reservations for specific day(s) or time slots available.
- Wordfence: More than 30,000 websites are hacked every day. Wordfence protects your website from malware and cyberattacks.
Step 6: Create Relevant Pages
Having pages on your website allows your website visitors to have a clear understanding of your website and enables them to purchase your products or contact you with ease.
Below is a list of essential pages for a small business website:
- Homepage: This is the page everyone sees when they first visit your website, so try to make it as informative as possible with a brief description of what your business is about.
- About Us: The About us page should provide detailed information about your business.
- Services/Product page: This is where you will showcase your work to potential clients, list your products for sale, and accept payments.
- Contact/Booking Page: This is the page where visitors can fill out a form to reach out or schedule an appointment with you. You can easily create a contact form using the contact form 7 plugin or a booking form using the booking calendar plugin.
- Blog Page: Having a Blog page on your website is essential nowadays. You can use SEO, paid advertising, and social media to promote your content and attract more readers who will probably become paying customers.
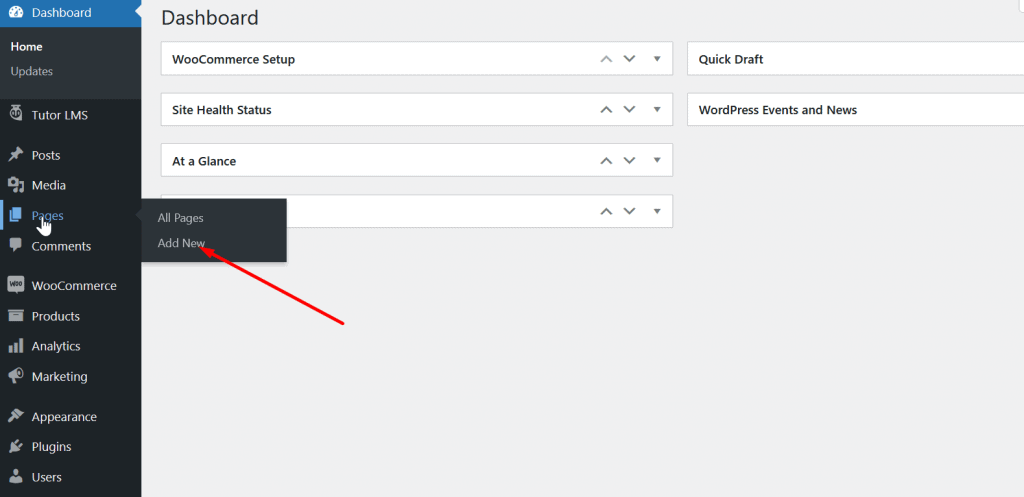
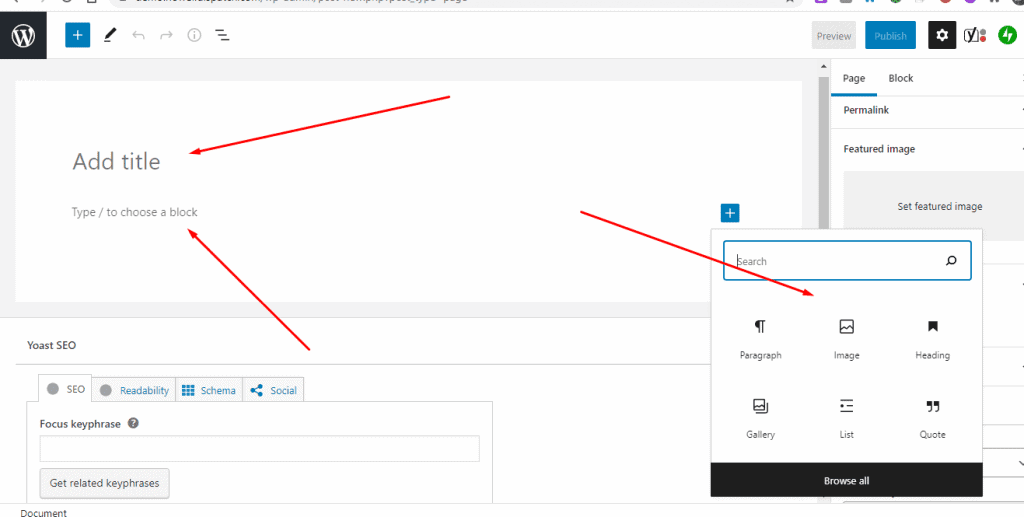
To create a page, click on Pages in the sidebar menu and then Add new; you will be redirected to a new page where you can add text, images, and other elements to the page.
After adding content to your new page, hit the publish button at the top-right menu to save it
Tip: Instead of using the WordPress default page builder to create your web pages, you might want to consider using the Elementor page builder plugin, which is a widely used WordPress page builder for creating appealing and professional-looking pages.
Here is a video showing how to use Elementor to create a web page, click here
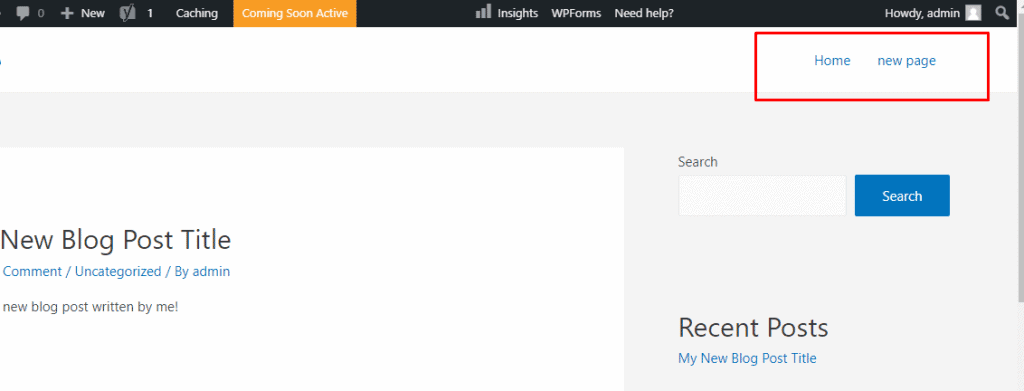
Step 7: Create a Navigation Menu
A navigation menu provides easy access to the different pages on your website. It is usually located at the top of your website.
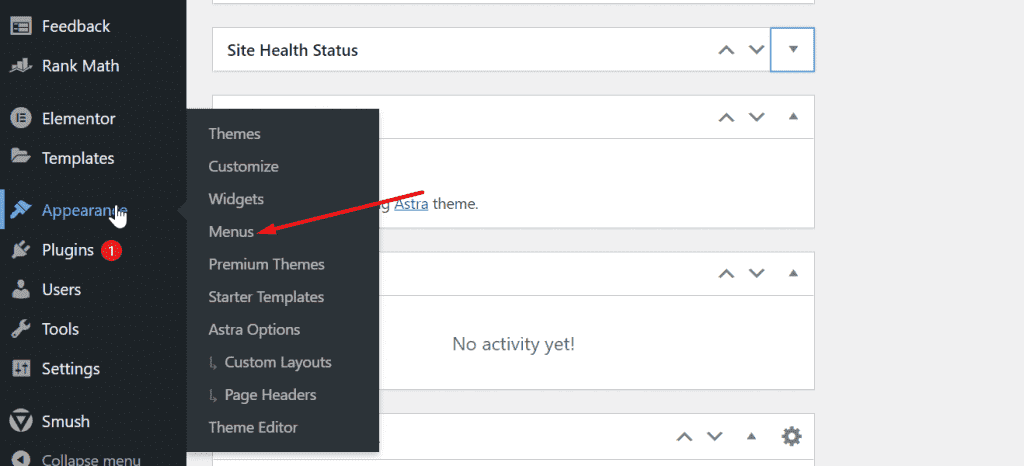
To create a navigation menu, select Appearance in the sidebar, then click on Menu.
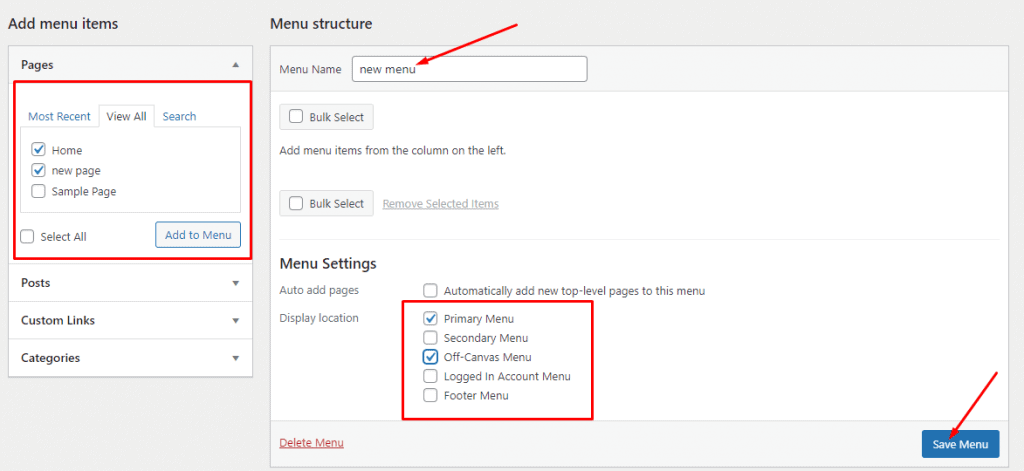
On the next page, you will have the option to add relevant pages to your website’s menu. After you have created the navigation menu, hit the Save button to publish the menu to your website.
Read Also: How to Add a Logo to Your Website
Step 8: Enhance Your Website Design
Enhance your website designs with features like image sliders, testimonials carousel, popup forms, logo, background colors, and images. Consider checking out this video on how to improve the design of your small business website. To watch the video, click here.
Step 9: Add a Payment Method to Your Website
Although this step isn’t necessary unless you plan to sell digital or physical products on your site.
With the Woocommerce WordPress plugin, you can easily list your products for sale and accept payments with PayPal, Stripe, or any other payment methods.
To understand the technical aspects of the setup process, we recommend checking out this video. To watch the video, click here
Step 10: Launch Your Website
After the WordPress installation, Bluehost puts your website in coming soon mode. To publish your website, you will have to disable this setting.
You can disable this setting by clicking on the Coming Soon Active button located at the top of the website dashboard.
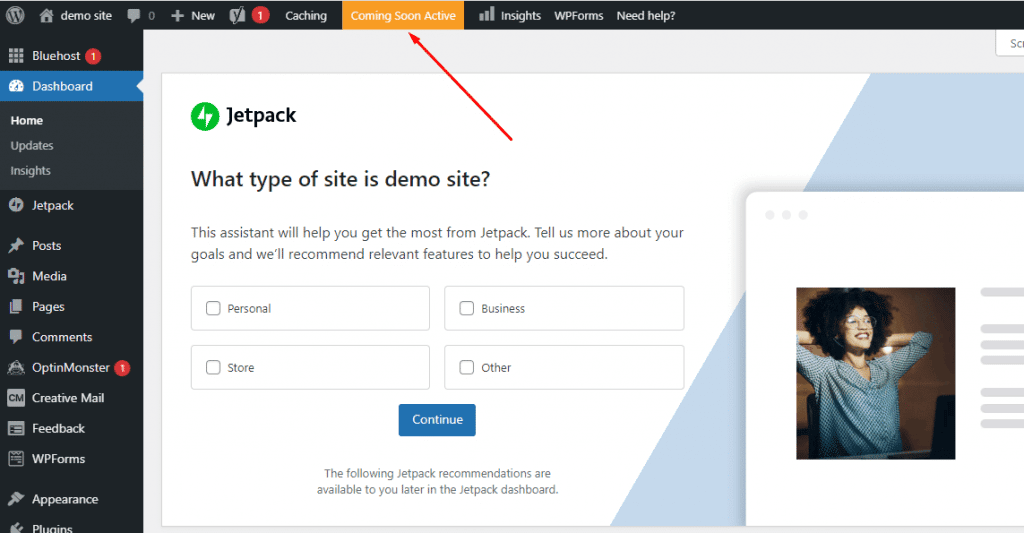
Then click on the Launch your site button to publish your website.

Step 11: Optimize Your Website for Search Engines
Search engine optimization is the process of improving the amount of traffic your website receives from search engines. Approximately 5.4 billion searches are made on Google daily, so it would be best to optimize your website for ranking on Google.
The following are some practical search engine optimization tips for small business websites:
- Submit Your Website to Google Search Console: By submitting your website to Google Search Console, Google is able to crawl and index your website.
- Set Up Google Analytics Tracking: This allows you to know the amount of traffic your website receives and also gives you some useful information about your website’s visitors.
- Reduce Your Website Load Time: Google ranks websites with a fast load speed higher in its search result pages, It is recommended that you install the WPRocket WordPress plugin to reduce your website’s load time.
- Publish Quality Content Regularly: Publishing unique and compelling content not only makes your website rank higher in Google search results but also keeps readers returning to your site regularly.
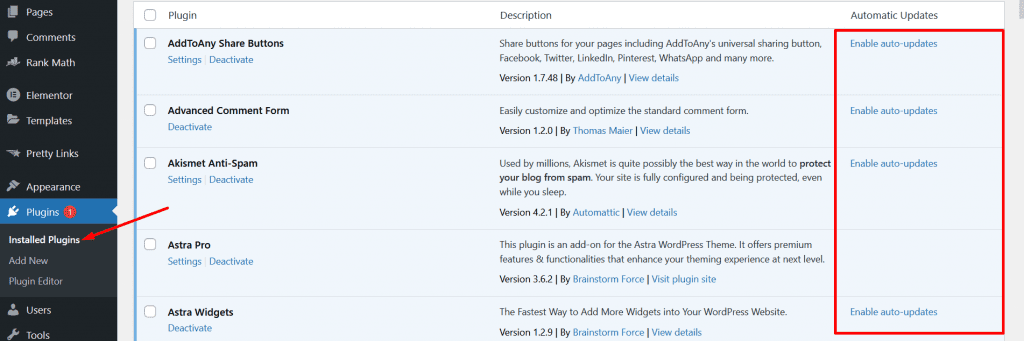
Step 12: Regularly Maintain and Update Your Website
It’s recommended that you update your WordPress theme and plugins regularly after launching your website in order to prevent security vulnerabilities on your website.
To simplify this process, you can set your plugins to Automatic Update. This way, when a new version is released, your plugins will update automatically.
Thank you for reading this post to the end. If you have any questions, please leave them in the comments section below, and I will respond as soon as possible. If you found this post useful, please share it!